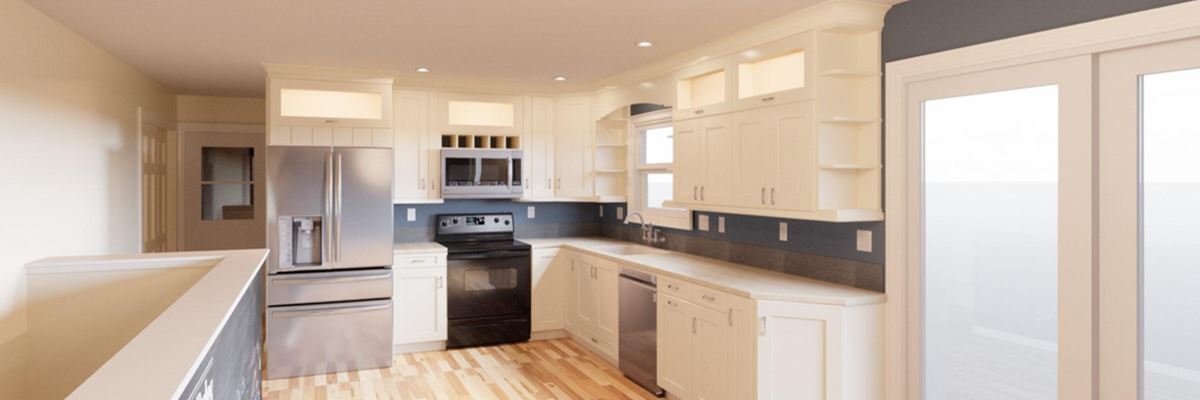
How to Make an Architectural Rendering
If you’re interested in creating beautiful and realistic 3D architectural renderings, you’re about to begin a challenging and fulfilling journey. Read on to learn how to make an architectural rendering.
Creating a 3D architectural rendering is much more than just using a computer program to generate a three-dimensional image. Architectural renderings are an art form that requires creativity, attention to detail, and a passion for perfection.
It’s All About the Details
Before we begin, there are a few things you’ll need to keep in mind. In this article, we’ll walk you through how to make an architectural rendering that looks amazing and is sure to impress your clients or colleagues.
Deliverable
There are many different paths you could pursue. Let’s start by deciding on your deliverable. First, it’s important to understand the difference between a static 2D image and a dynamic 3D animation. A static image can be created using any number of 2D rendering software programs, but it will only ever show one perspective of the building or space being depicted. A 3D animation, on the other hand, will give the viewer a much more immersive experience, allowing them to see the space from multiple angles and perspectives.
Software
When it comes to creating 3D renderings, there are a few key pieces of software that you’ll need to be familiar with. Some of the most popular programs for architectural rendering include Autodesk 3ds Max, SketchUp, and Revit. Each may be used for both stills and animations, and each is capable of schematic and realistic images. That said, each program has its strengths and weaknesses, and you’ll be well served by choosing the best tool for the job
Modeling
Once you’ve chosen your software program, it’s time to start modeling your building or space. This process can be a bit daunting if you’re not familiar with 3D modeling, but there are lots of great tutorials out there to help you get started. The key is to take your time and be meticulous in your modeling. Every detail counts when it comes to creating a realistic rendering. It can be helpful if you have a sense of the viewing angle you’d like to create. If your 3D rendering will be a front exterior, no sense wasting time modeling the rear or indoors.
Textures & Lighting
Once your model is complete, it’s time to start adding textures and lighting. This is where you can really make your rendering come to life. A great way to learn how to texture and light your models is by experimenting and by watching other artists’ tutorials.
It’s also helpful to start paying attention to how things look in the real world. What is reflective and what isn’t? Are reflections crisp or blurry? Notice what is perfectly smooth (not much) and what types of bumpiness do various materials have? It’s all in the details, so it’s worth building a knowledge and intuition about these things. There is no one right way to do things, so be creative and have fun with it!
Finishing Up
Finally, when you’re finished creating your rendering, it’s important to take the time to render it out properly. This means making sure that all of your textures are set up correctly and that you’ve chosen the right lighting settings. A great scene can be ruined by poor rendering settings, so it’s important to take the time to get it right.
Once you’re done rendering, the job isn’t always complete. There’s plenty of post-production work to be done in programs like Photoshop or Lightroom, where you can add final touches like clouds, people, and vegetation if they weren’t already in your 3D model.
Conclusion
The bottom line is that creating stunning 3D architectural renderings takes a lot of hard work, but it’s well worth it in the end. With the right tools, skills, and attitude, you can create renderings that are sure to impress your clients or colleagues. So what are you waiting for? Start experimenting and have some fun!

0 Comments