Introduction
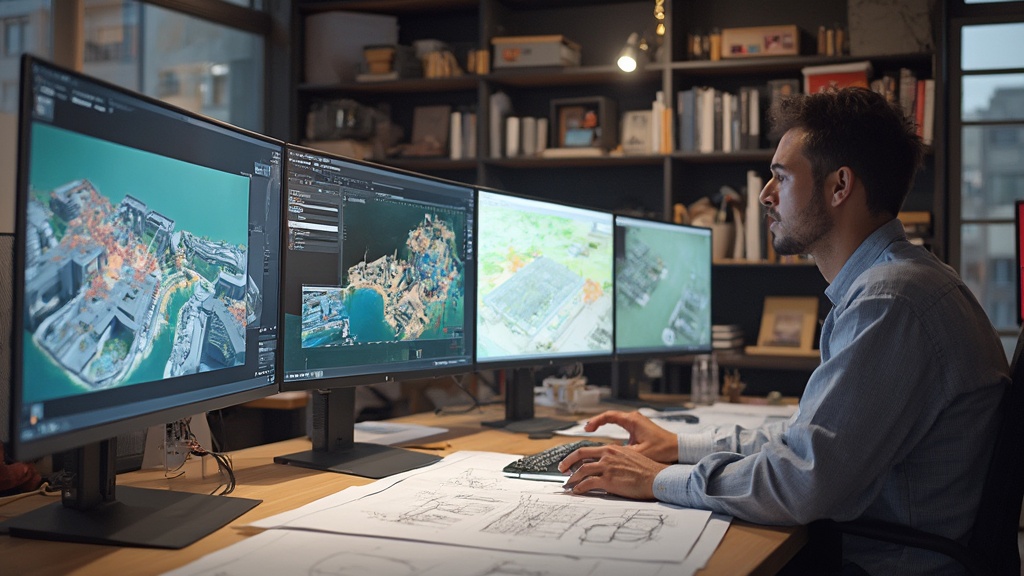
The evolution of architectural visualization has reached a pivotal point with the advent of 3D site plan rendering, a technique that transcends traditional methods to deliver immersive and detailed representations of proposed developments. This approach not only aids architects and developers in communicating their vision but also enhances client engagement by providing a realistic preview of how a project will integrate with its surroundings. By meticulously illustrating elements such as terrain, building placements, and environmental interactions, stakeholders gain invaluable insights into the design’s aesthetic and functional potential.
As the complexities of modern architecture demand precision and clarity, understanding the intricacies of creating effective 3D renderings becomes essential for successful project execution. This article delves into the foundational principles, step-by-step processes, common challenges, and innovative strategies that can elevate 3D renderings, ultimately ensuring that architectural visions are realized with accuracy and impact.
Understanding the Basics of 3D Site Plan Rendering
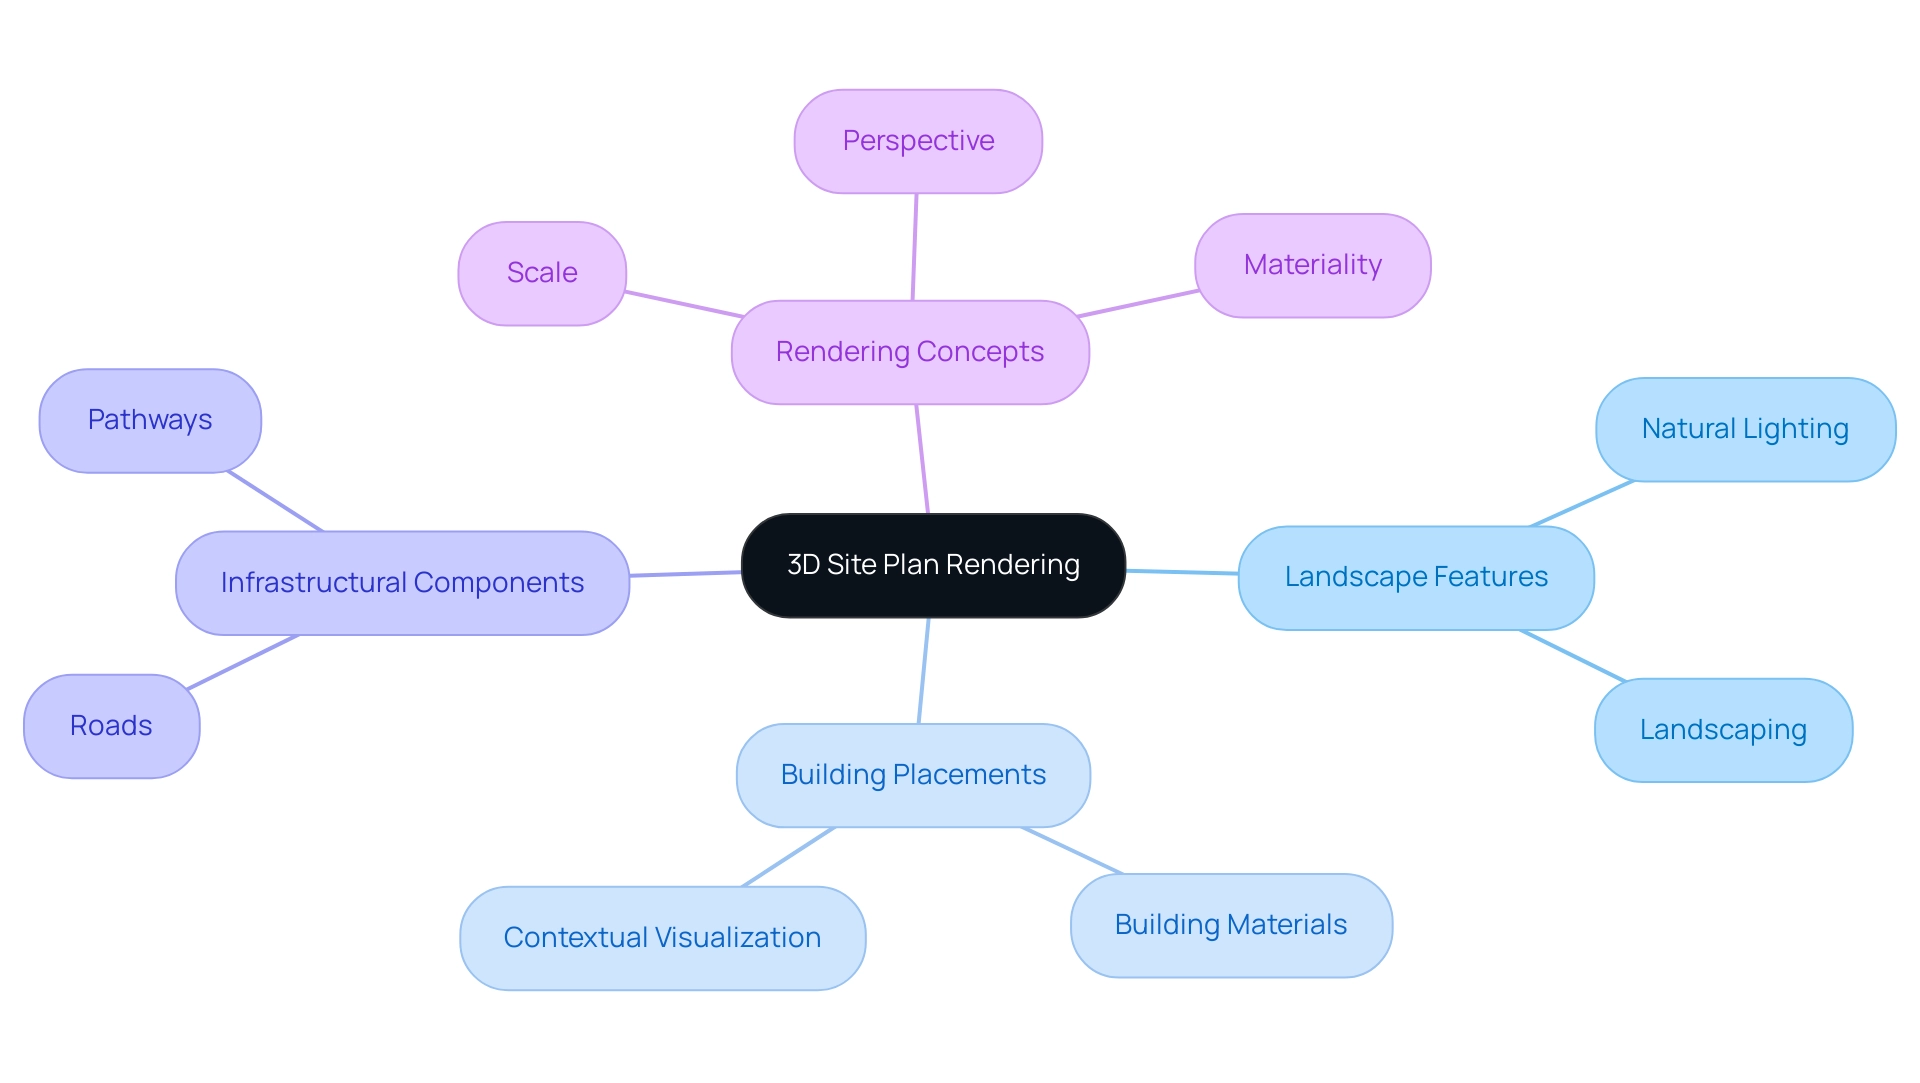
3D site plan visualization involves the creation of detailed three-dimensional representations of a proposed site layout, essential for architects, developers, and clients. This visualization realistically depicts how a project will interact with its environment, showcasing key elements like:
- Landscape features
- Building placements
- Infrastructural components such as roads and pathways
Distinguishing between interior and exterior architectural illustrations is crucial, particularly in emphasizing:
- Natural lighting
- Landscaping
- Building materials for contextual visualization
Concepts such as scale, perspective, and materiality significantly influence how the rendering conveys intent. For example, by demonstrating how natural light interacts with materials throughout the day, stakeholders can better comprehend the aesthetic and functional elements of the concept.
By partnering with J. Scott Smith Visual Designs, you can ensure that your 3D visualizations not only enhance client understanding and improve stakeholder communication but also identify potential design issues early, paving the way for successful project execution.
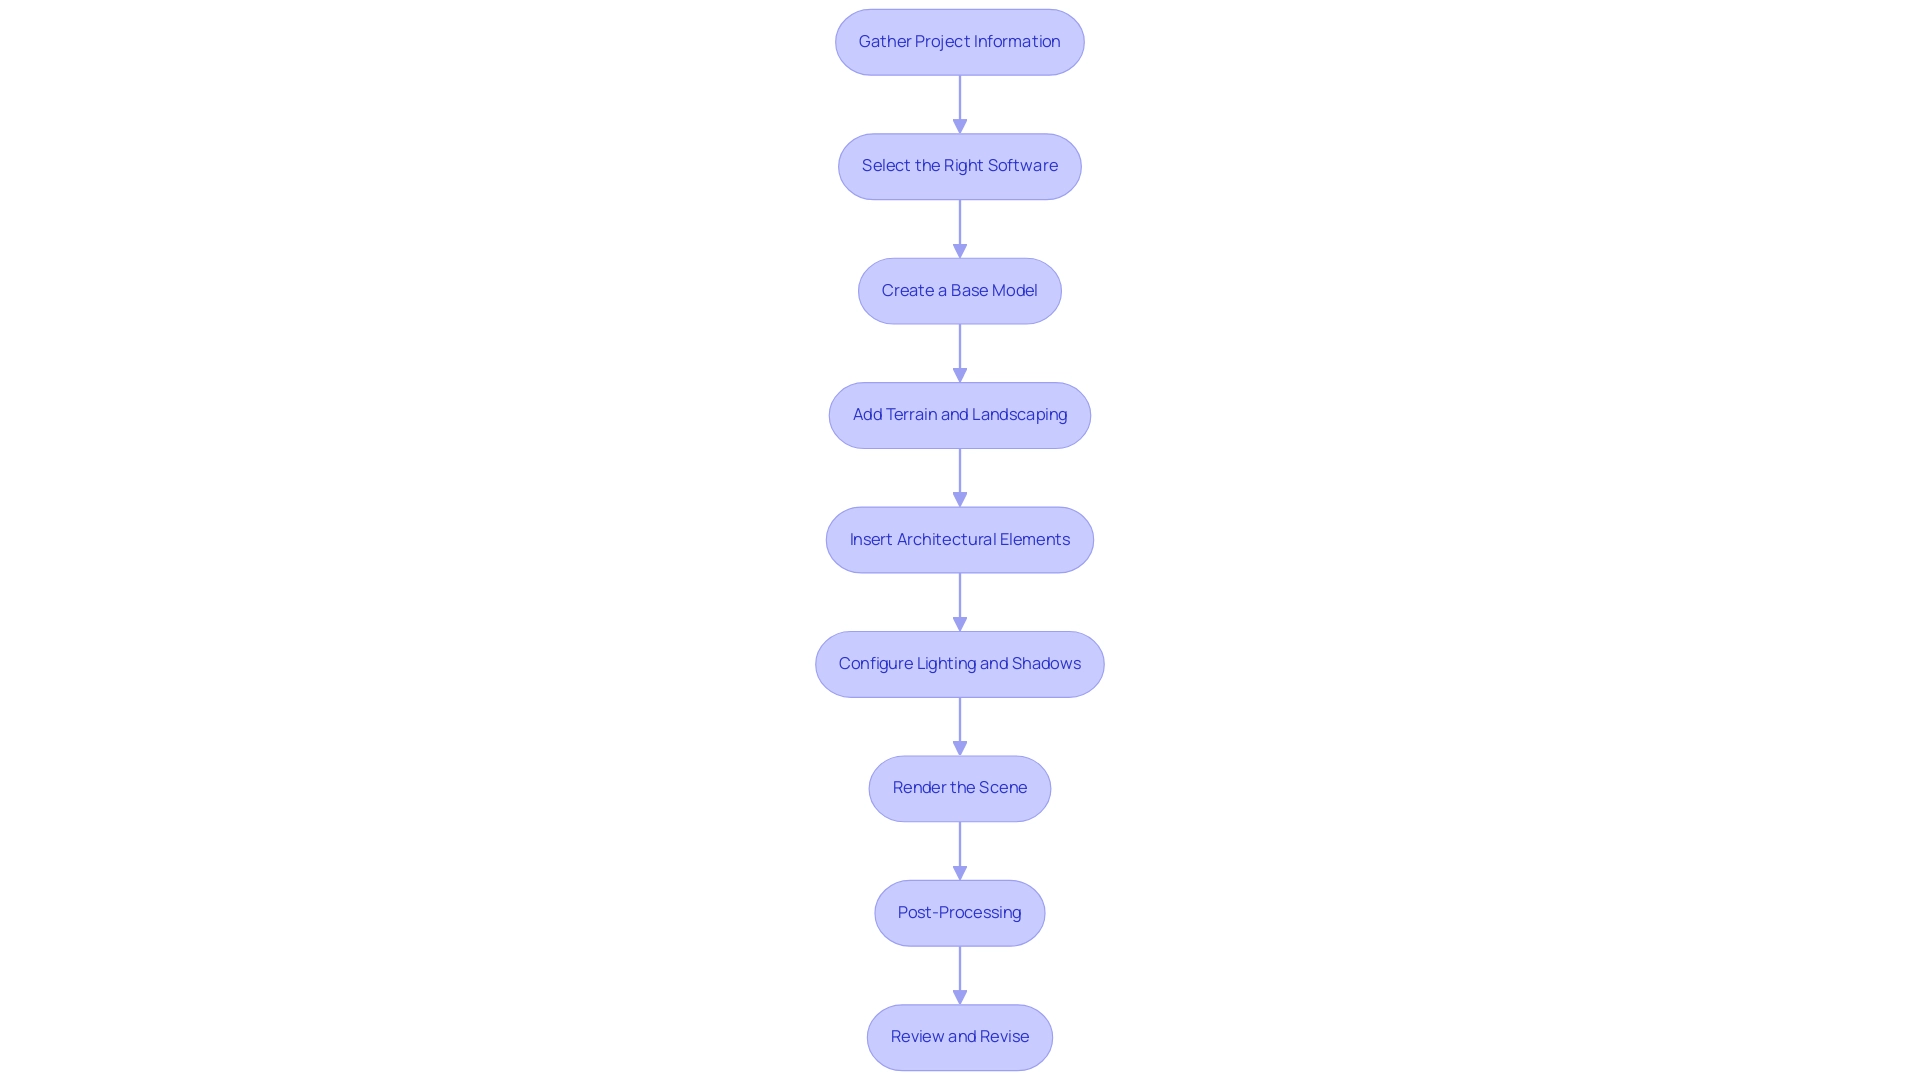
Step-by-Step Process for Creating Effective 3D Renderings
Gather Project Information: Begin by collecting all necessary data, including site plans, architectural drawings, and landscape details. This foundational information influences every aspect of your presentation. To ensure accuracy, provide detailed information about your project, including design concepts, sketches, and any specific requirements or preferences. The more comprehensive your input, the better we can customize our creations to reflect your vision.
Select the Right Software: Choose from reliable rendering software such as SketchUp, AutoCAD, or 3ds Max, which are industry standards. Familiarize yourself with the tools and features available in your chosen application to maximize efficiency.
Create a Base Model: Start by building a 3D model of the site. Import your 2D site layout and extrude the relevant components into three dimensions, ensuring accurate scale for precision.
Add Terrain and Landscaping: Incorporate topographical elements such as hills, trees, and water features. Utilize texture maps for realistic ground surfaces and plant models to enhance visual appeal.
Insert Architectural Elements: Model the buildings according to the architectural plans. Focus on details like windows, doors, and materials to create a lifelike representation. We can seamlessly integrate your existing CAD files and design documents to ensure the final visuals are accurate and true to your original designs.
Configure Lighting and Shadows: Set up lighting to mimic natural conditions. Adjust the sun position and shadows to enhance realism. Our visualizations achieve high realism and can accurately match the materials and lighting specified by you, as proper lighting greatly influences the overall ambiance.
Render the Scene: Once satisfied with the model setup, proceed to render the scene. Select suitable resolution and display settings to balance quality and processing time effectively.
Post-Processing: After producing the image, utilize software like Photoshop to make final adjustments, including color correction, adding people or vehicles for scale, and enhancing textures.
Review and Revise: Solicit feedback from peers or clients and make necessary adjustments. Ongoing enhancement is essential to mastering 3D site plan visualization.
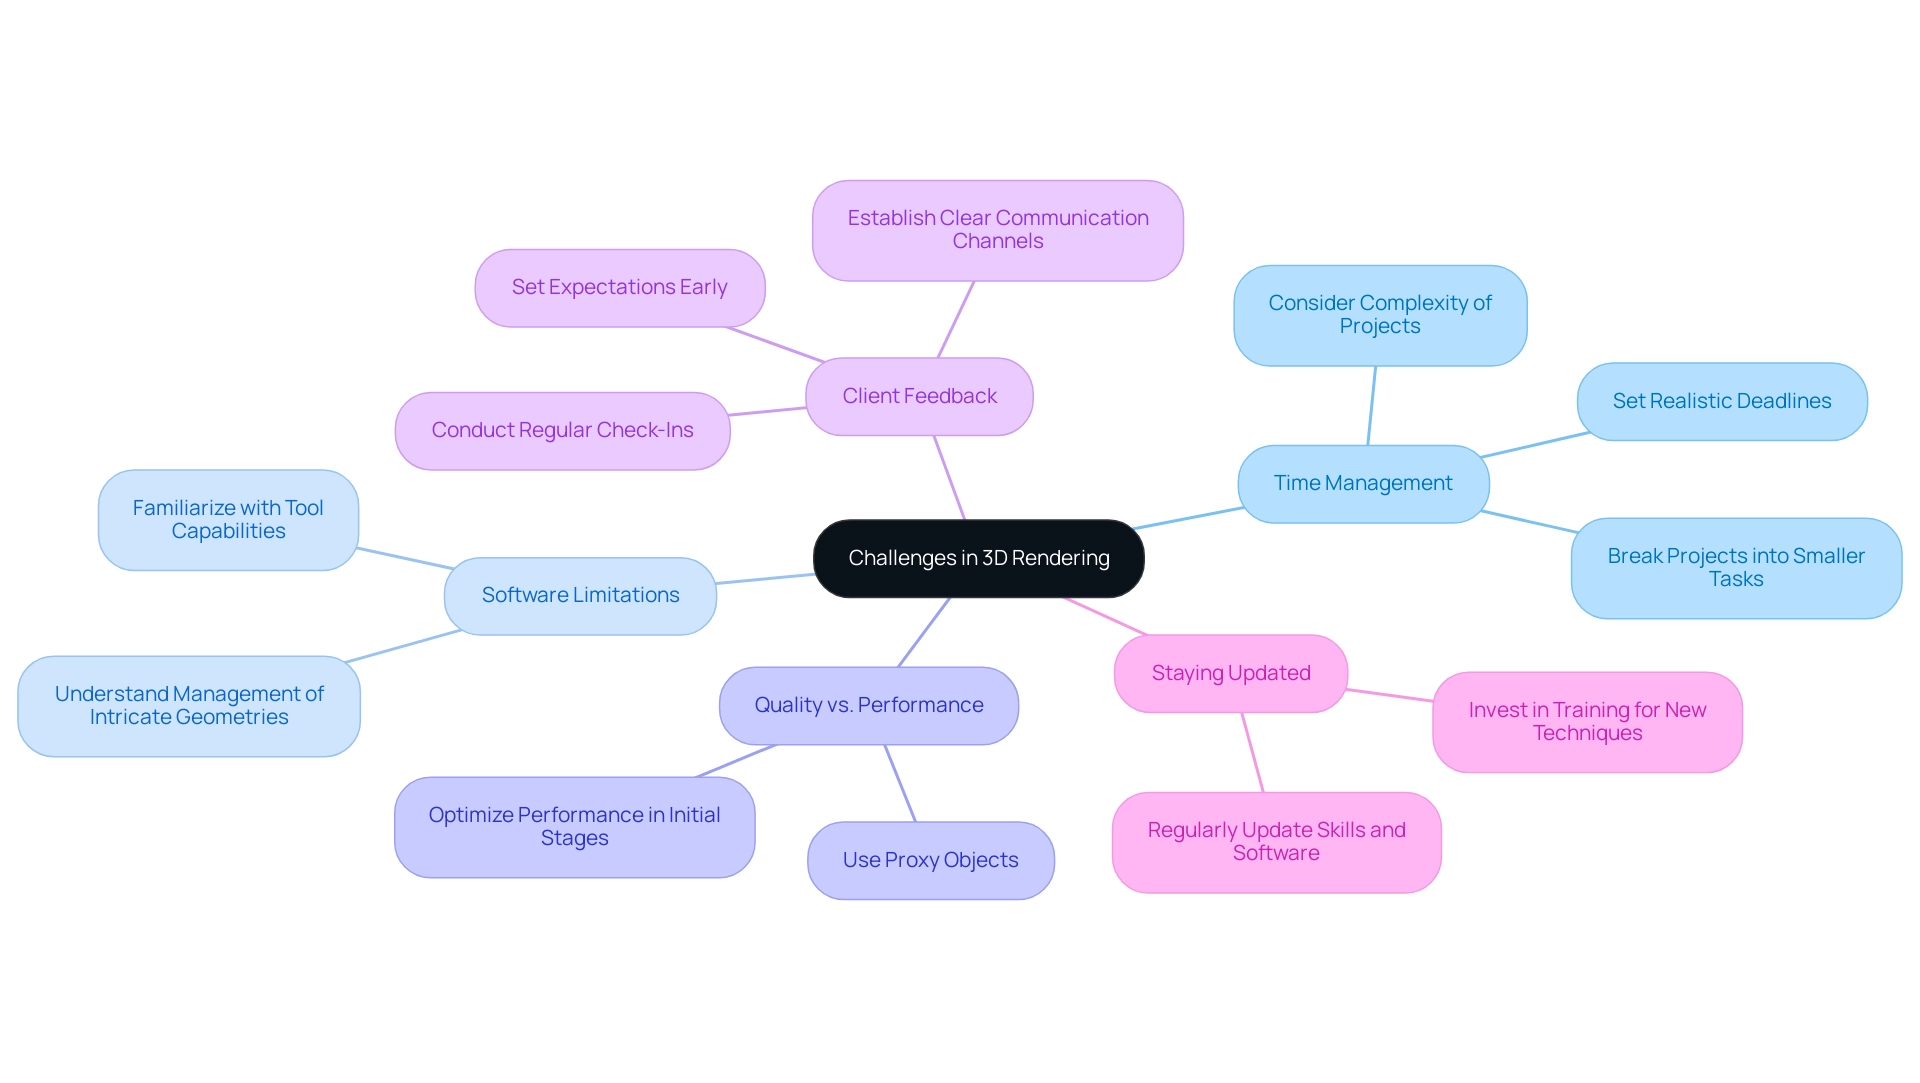
Common Challenges in 3D Rendering and How to Overcome Them
Time Management: Rendering can be time-consuming. To manage your time effectively, set realistic deadlines and break the project into smaller tasks. Complex projects, such as entire communities versus single structures, can significantly influence processing time and resource requirements. For instance, executing a multi-building development may require additional time for coordinating various design elements compared to a single-family home.
Software Limitations: Every application has its strengths and weaknesses. Familiarize yourself with the capabilities and limitations of your chosen tool to avoid frustration. Comprehending how your software manages intricate geometries can save you time and effort during the visualization phase.
Quality vs. Performance: High-quality images can be resource-intensive. Use proxy objects for large models to optimize performance without sacrificing quality. For example, when creating a large landscape, you might use simplified versions of trees and vegetation in the initial stages to maintain speed while focusing on the overall composition.
Client Feedback: Clients may have specific requests that can complicate the process. Establish clear communication channels and set expectations early on to mitigate misunderstandings. Continuous feedback is crucial to improve interior visuals, ensuring they precisely represent the customer’s vision and can adjust to modifications during the renovation process. Regular check-ins can help clarify client preferences and avoid costly revisions later.
Staying Updated: The graphics industry evolves rapidly. Regularly update your skills and software to keep up with new techniques and technologies. Remember that tight timelines may require additional resources, impacting both cost and quality, so plan accordingly. For instance, investing in training for new visualization software can enhance your team’s efficiency and output quality.
Tips for Enhancing Your 3D Renderings
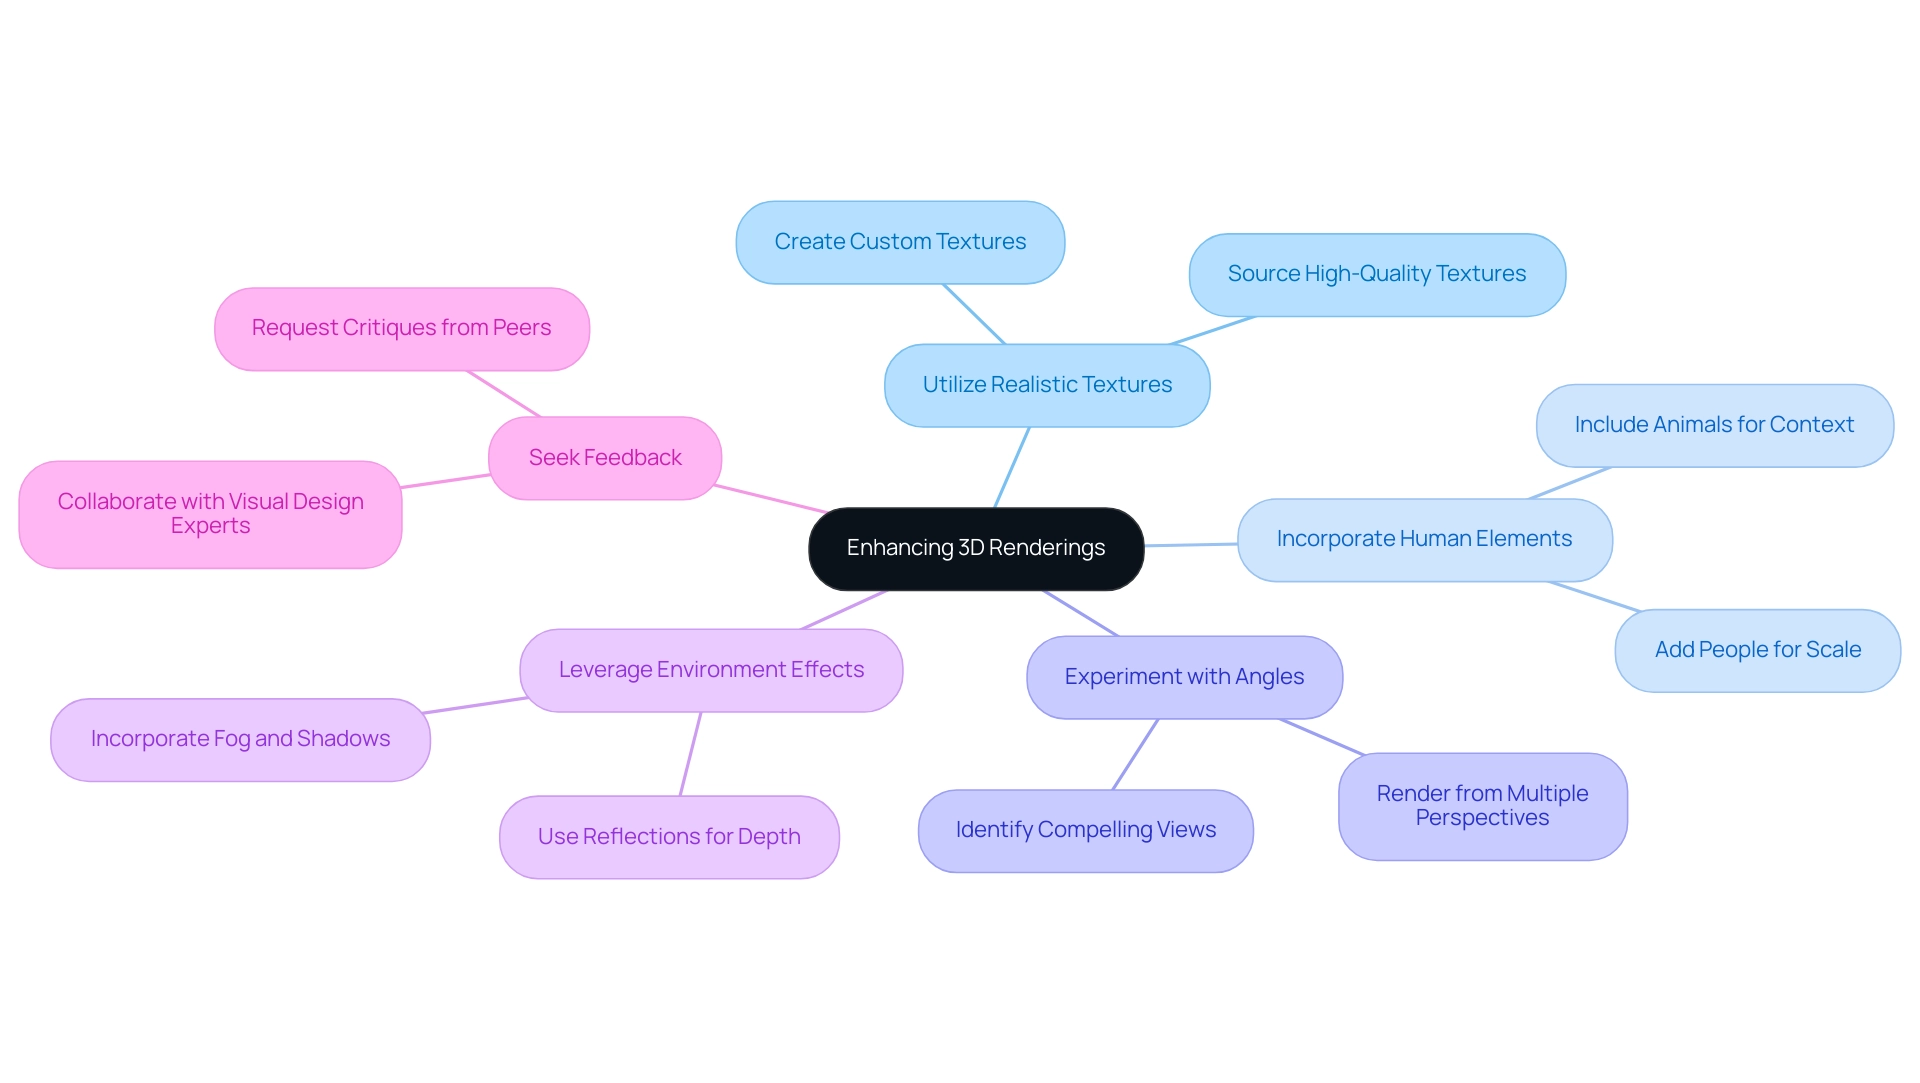
In the field of architectural visuals, utilizing effective tactics is crucial to improve comprehension and promote communication throughout the design process. Here are key strategies to consider:
Utilize Realistic Textures: Invest time in sourcing or creating high-quality textures that mimic real-world materials. This attention to detail not only enhances the overall realism of your visuals but also aids clients in visualizing the final outcome more accurately.
Incorporate Human Elements: Adding people or animals to your scene can provide scale and context, making the rendering more relatable. This practice fosters better communication with stakeholders by allowing them to envision how the space will be used in real life.
Experiment with Angles: Render from various angles to find the most compelling perspective. A unique perspective can dramatically alter the effect of the visualization, assisting in recognizing potential issues early and ensuring that all parties are aligned on the vision.
Leverage Environment Effects: Incorporate elements like fog, shadows, and reflections to create depth and atmosphere in your designs. These effects can significantly enhance client engagement by immersing them in the visual experience of the project.
Seek Feedback: Regularly ask for critiques from peers or mentors. Constructive feedback can highlight areas for improvement and inspire new ideas. To further refine your vision, consider partnering with J. Scott Smith Visual Designs for preliminary renderings that visualize and validate your architectural concepts. Our collaborative creation phase ensures that your feedback is incorporated, leading to a final product that truly reflects your vision.
Ready to elevate your architectural design concepts? Contact us today to schedule a consultation and see how we can help bring your ideas to life.
Conclusion
The exploration of 3D site plan rendering has revealed its critical role in modern architectural practices, emphasizing the significance of precision and clarity in visual communication. By understanding the foundational principles and step-by-step processes involved in creating effective renderings, architects and developers can significantly enhance client engagement and facilitate stakeholder collaboration. The emphasis on accurate representation of environmental interactions, building placements, and landscape features not only aids in understanding design intent but also serves to identify potential challenges early in the development process.
Addressing common challenges such as time management, software limitations, and client feedback further underscores the importance of strategic planning and effective communication in achieving high-quality renderings. By implementing innovative strategies—such as utilizing realistic textures, incorporating human elements for scale, and experimenting with different angles—professionals can elevate their 3D visualizations, making them more relatable and impactful.
Ultimately, the evolution of 3D site plan rendering stands as a testament to its transformative power in architectural visualization. As technology continues to advance, the commitment to continual learning and adaptation will be paramount in ensuring that architectural visions are not only realized but also resonate with clients and stakeholders alike. Embracing these principles and practices will pave the way for successful project execution and a more profound appreciation of architectural design’s aesthetic and functional potential.
0 Comments