Introduction
In the realm of architectural visualization, the ability to effectively utilize advanced rendering software such as Enscape can significantly elevate project presentations and client engagement. This article delves into the essential features and setup required to harness Enscape’s full potential, guiding professionals through the intricacies of real-time rendering, material customization, and optimization techniques.
By exploring advanced rendering strategies, readers will gain insights into how to enhance the realism and quality of their visual outputs, ensuring that designs not only meet aesthetic standards but also resonate with stakeholders. Furthermore, an emphasis on exporting and sharing renderings will equip architects with the tools necessary to communicate their vision with precision and clarity, ultimately fostering stronger connections with clients and collaborators.
Getting Started with Enscape: Key Features and Setup
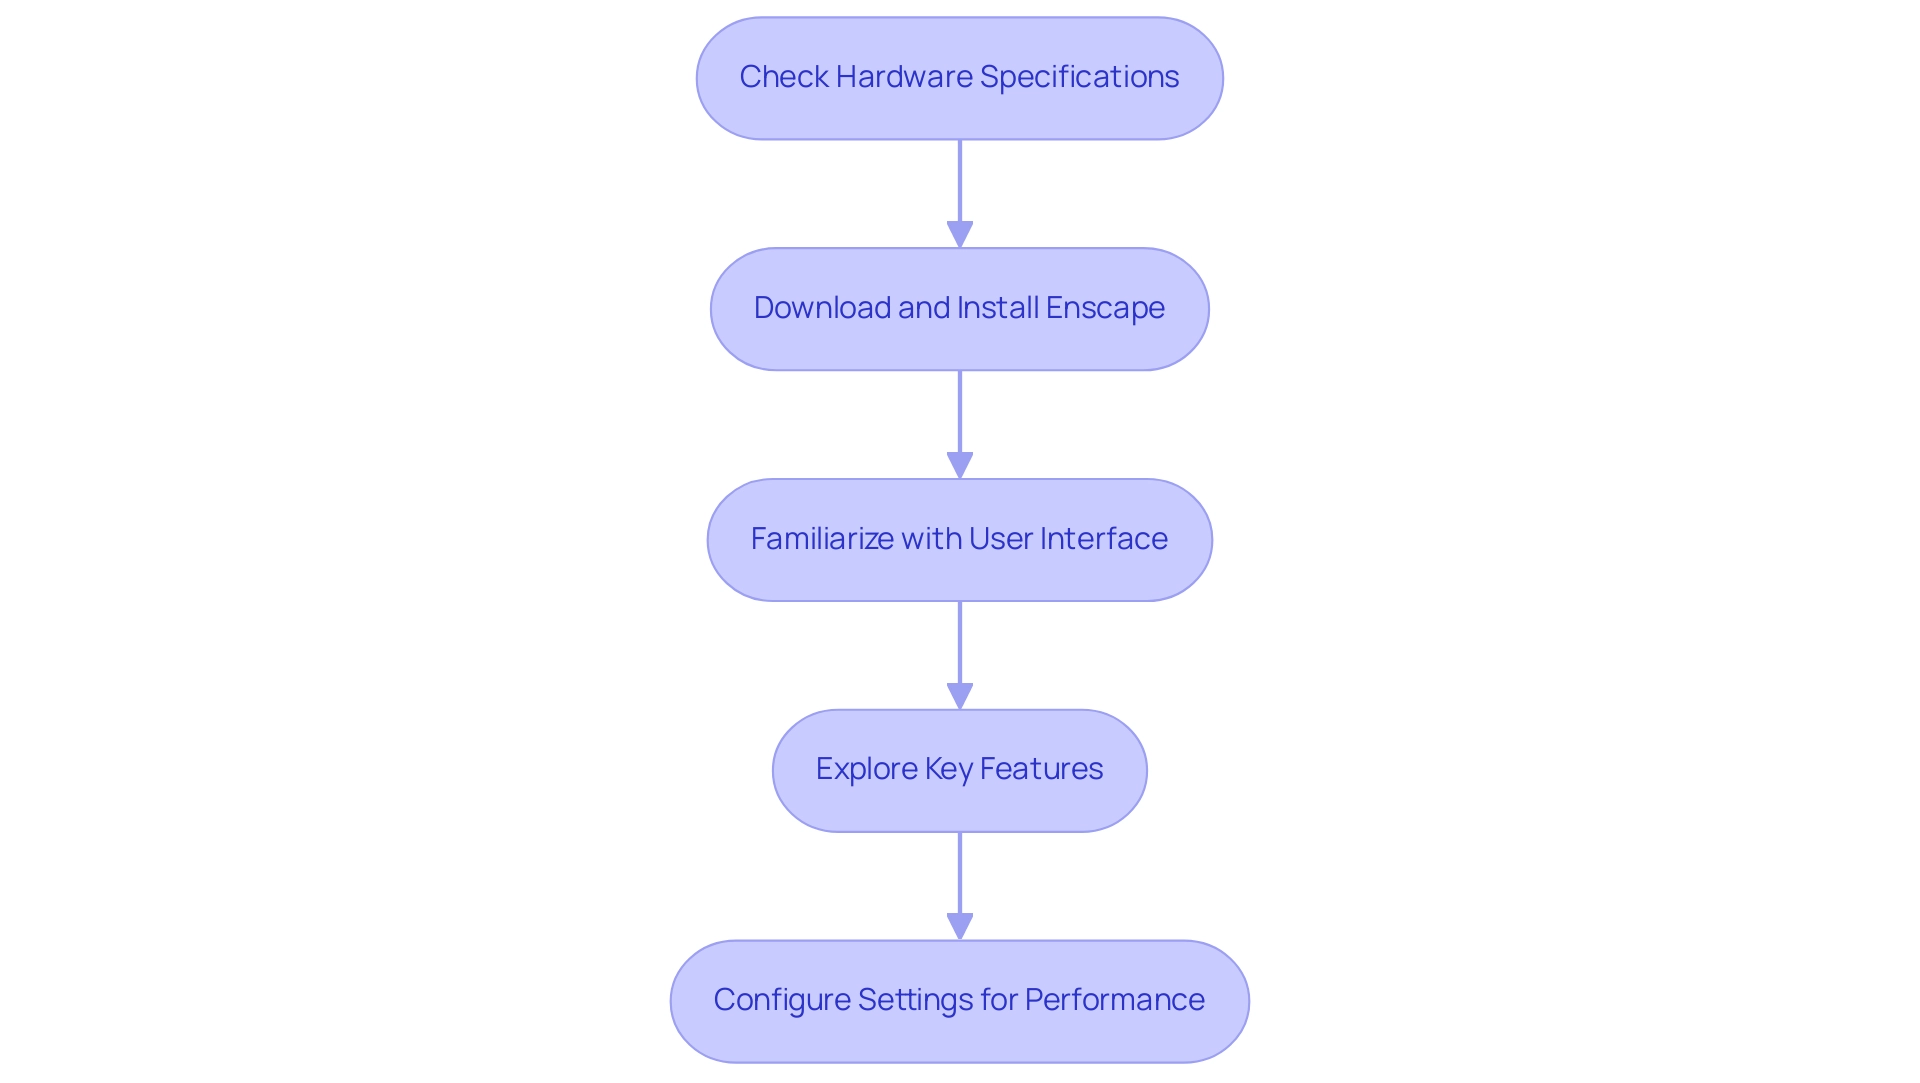
To effectively utilize Enscape in your design tasks, begin by ensuring your system meets the necessary specifications, including a compatible graphics card with at least 4GB of VRAM and sufficient RAM. It is crucial to note that users equipped with NVIDIA T1000 or T2000 graphics cards may face performance challenges when utilizing RTX features; hence, considering an upgrade is advisable if you plan to leverage these advanced capabilities. As Yevgen Gozhenko aptly noted, ‘Most people generally do not work at this detail level on day-to-day projects,’ emphasizing the need to align your project demands with the appropriate level of detail. Once your hardware is confirmed, download and install the Enscape architectural rendering software from the official website, ensuring seamless integration with your preferred architectural software, such as Revit, SketchUp, or Rhino.
Familiarize yourself with the user interface, which includes the rendering window, settings panel, and asset library.
Key features to explore include:
- Real-Time Rendering: Instantly observe changes in your model as you make adjustments, significantly enhancing your workflow and client collaboration.
- Asset Library: Access an extensive collection of pre-modeled objects and materials to enrich your scenes, ensuring your visualizations capture the essence of your concept accurately.
- VR Support: Immerse clients in your designs with virtual reality, greatly aiding in presentations and enhancing stakeholder communication.
- Lighting Options: Utilize advanced lighting settings to simulate various times of day and environmental conditions, enhancing the realism and detail of your visuals.
Before commencing your process, configure your settings to optimize performance and quality. Choose suitable render quality settings customized to your task’s complexity, as the requirements of various applications in Enscape can differ considerably. This consideration will help determine the necessary hardware investment and ensure a seamless user experience.
For individuals aiming to enhance their PC for improved Enscape performance, it is wise to seek help via forums or comments, where useful insights and support from the community can be located.
In architectural visuals, the minute details play a vital role in storytelling, conveying the project’s essence and inviting viewers to connect with the initiative on a deeper level. It’s crucial to take into account the differing levels of detail needed for various categories of presentations, as this can greatly influence how clients and stakeholders view the final outcome. The benefits of 3D visualizations extend beyond aesthetics; they enhance client understanding, improve stakeholder communication, and help identify design issues early in the process.
Advanced Rendering Techniques in Enscape: Tips for Professionals
To enhance your visualization capabilities in Enscape, implementing the following advanced techniques is essential:
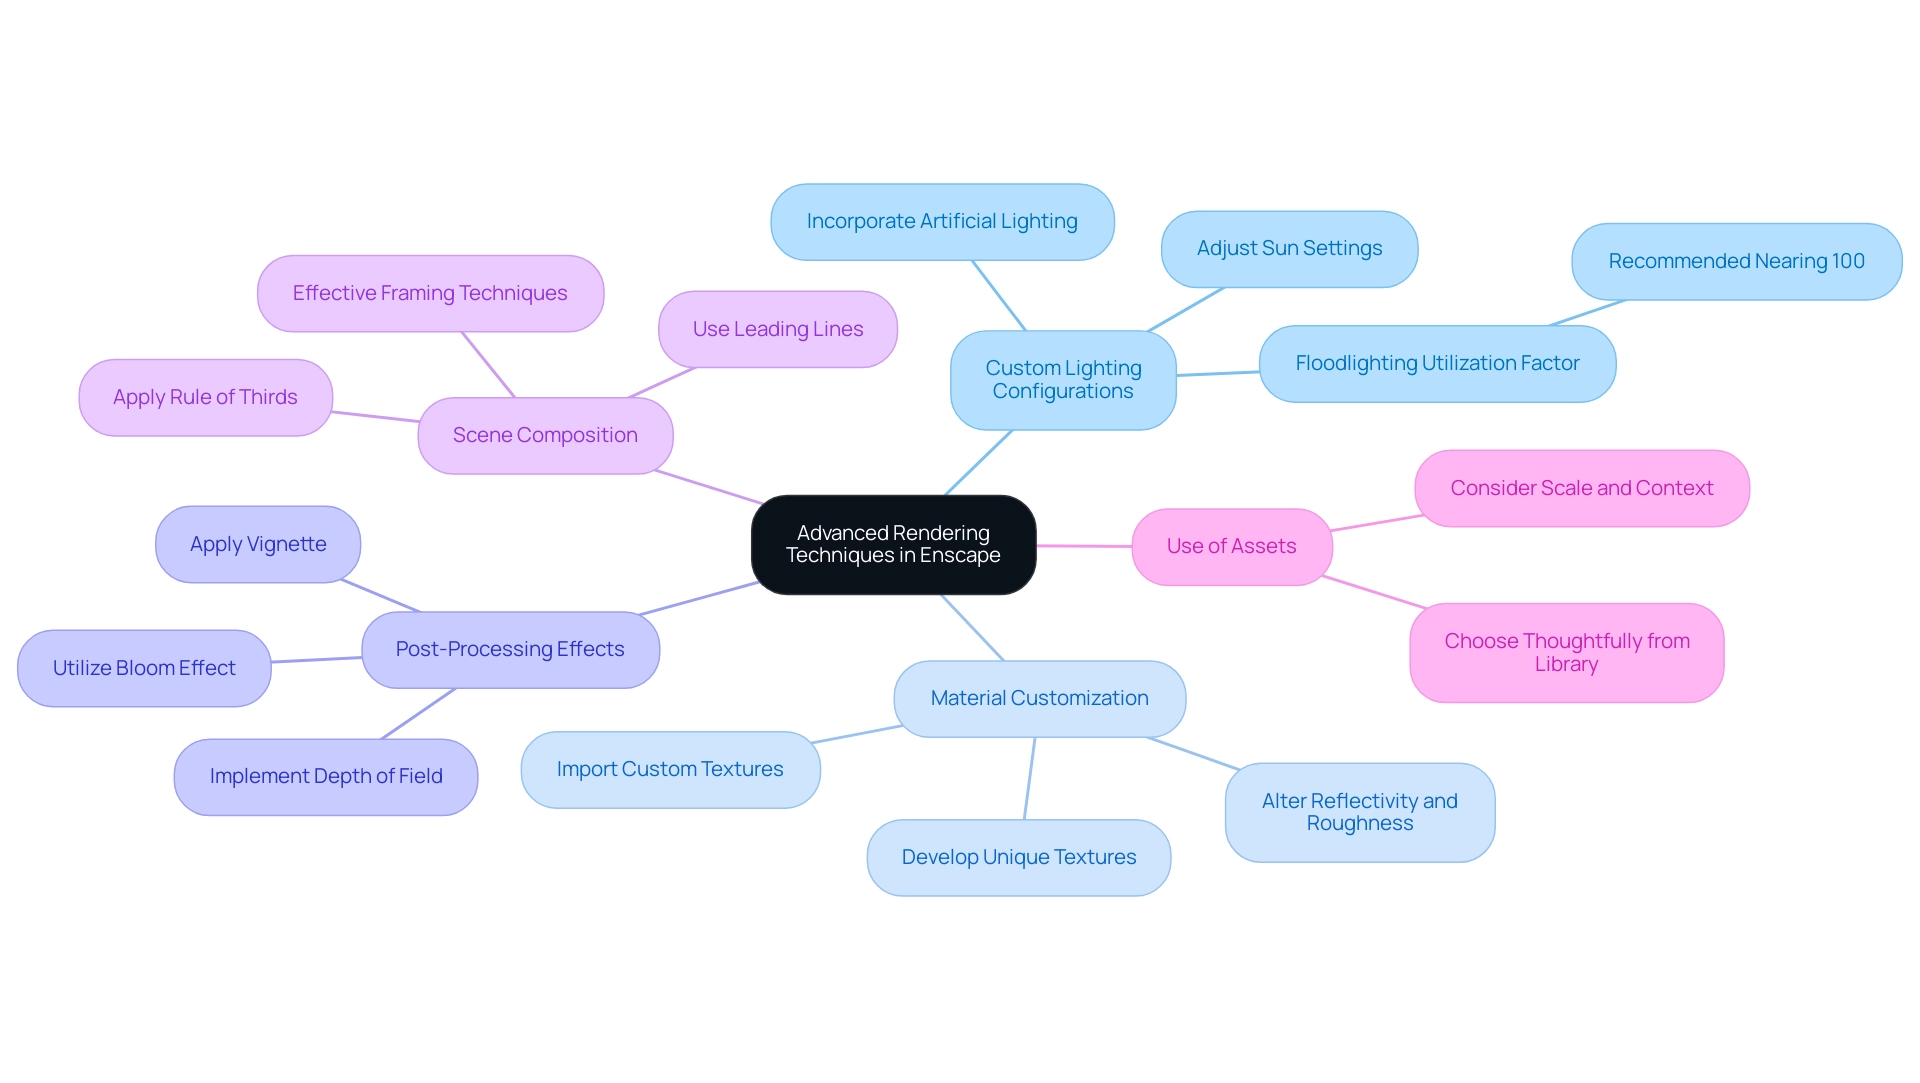
Custom Lighting Configurations: Experiment with various lighting setups to evoke distinct moods within your scenes. By adjusting the sun settings in enscape architectural rendering, you can manipulate both the angle and intensity of sunlight or incorporate artificial lighting for nighttime visuals. A floodlighting utilization factor nearing 100% is recommended for balancing aesthetic appeal with energy efficiency, ensuring that your lighting choices enhance the visual quality without compromising sustainability.
Material Customization: Leverage Enscape’s robust material editor to develop unique textures and finishes. Import custom textures or alter properties like reflectivity and roughness, enabling a more personalized aesthetic that aligns with your intent.
Post-Processing Effects: Utilize Enscape’s post-processing features, including bloom, vignette, and depth of field, to refine the final output. These enhancements contribute professional quality and a heightened sense of realism to your enscape architectural renderings.
Scene Composition: Focus on the composition of your scenes by applying principles like the rule of thirds, leading lines, and effective framing techniques. This attention to detail can create visually compelling enscape architectural rendering that engages the viewer effectively, which is crucial for enhancing client understanding and improving stakeholder communication.
Use of Assets: Enhance your scenes with thoughtfully chosen assets from the Enscape library to guarantee they harmonize with the structure. Consider scale and context to maintain overall realism and enhance the narrative of your project.
Additionally, enscape architectural rendering is crucial for presenting concepts and serves as a powerful marketing tool for architects and developers. They help reduce misunderstandings and discrepancies while attracting potential investors or buyers. Notably, 3D visualizations empower developers by providing clarity and certainty, facilitating effective communication with builders and stakeholders.
By illuminating visuals with clarity and precision, these enscape architectural renderings effectively convey a compelling narrative that resonates with potential investors and clients. Furthermore, pre-sales visualization is instrumental in enhancing project confidence and generating investment through early engagement. By incorporating these advanced techniques, especially enscape architectural rendering, you will create impressive visualizations that not only convey your design vision effectively but also resonate with potential investors and clients.
As mentioned by The Architect’s Newspaper, there were 35,621 candidates actively working on licensure, highlighting the growing professional engagement in the building design field and the importance of mastering rendering techniques.
Optimizing Render Settings for Performance and Quality
To effectively optimize your render settings in Enscape and enhance your architectural designs, adhere to the following guidelines:
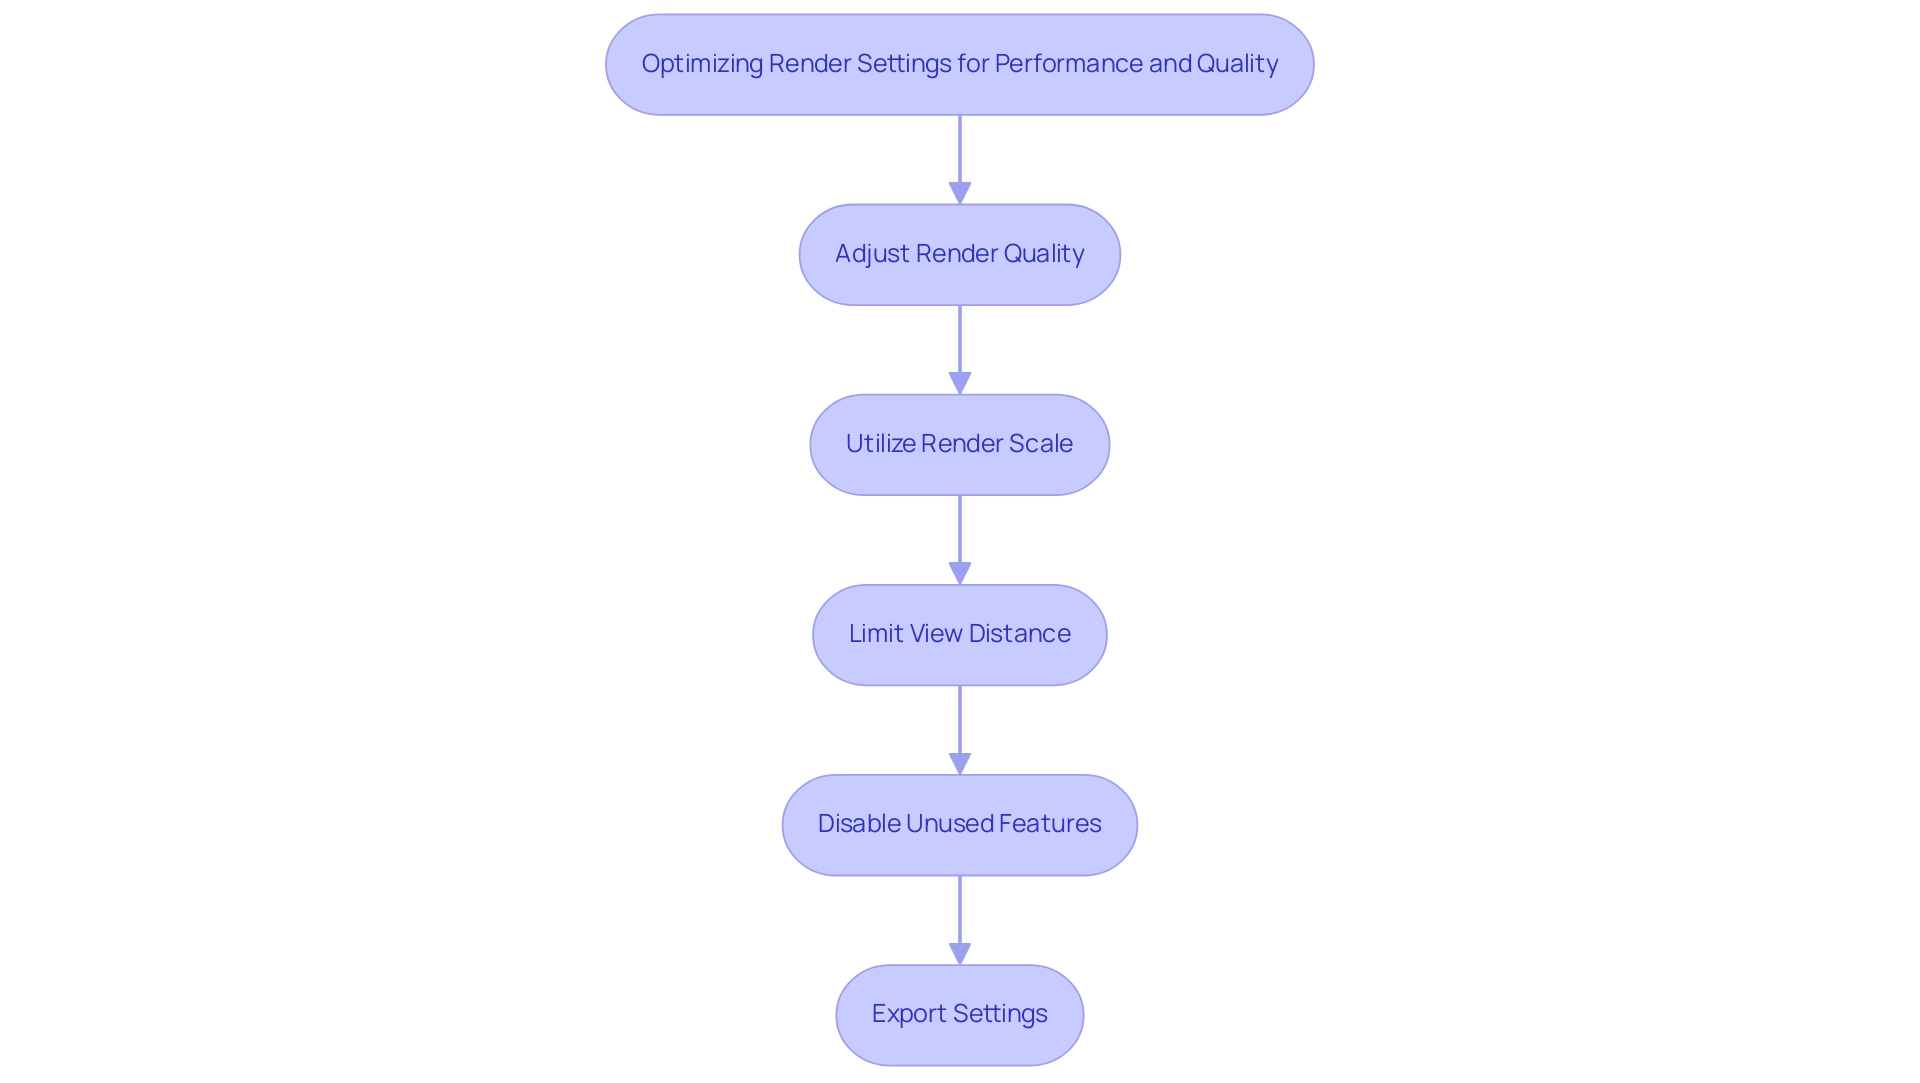
- Adjust Render Quality: Choose from options such as Low, Medium, High, or Ultra Quality tailored to your project requirements. For final outputs, opting for High Quality is recommended, while Medium Quality can facilitate faster iterations during the design process.
- Utilize the Render Scale: Modifying the render scale allows you to adjust the resolution of your output images. While higher scales can significantly enhance detail, they also demand greater processing resources.
- Limit View Distance: By setting the view distance to focus on specific areas of interest within your scene, you can alleviate the rendering engine’s workload, leading to faster performance.
- Disable Unused Features: Deactivating features such as depth of field and reflections—when they are not requisite for the current rendering—can notably conserve processing time and resources.
- Export Settings: During the image export process, select the most suitable file format for your needs; PNG is ideal for maintaining lossless quality, whereas JPEG is commonly used in Enscape architectural rendering for smaller file sizes suitable for distribution.
Implementing these optimization techniques will enable you to strike a critical balance between visual quality and operational efficiency. This approach not only facilitates adherence to deadlines but also ensures that visual excellence remains uncompromised. Additionally, providing clear and timely information, such as detailed specifications and project requirements early in the process, can save time and costs significantly. Given that 71% of designers worldwide incorporate 3D visualizations into their design processes, these practices are vital for sustaining competitiveness. Moreover, with design visualization expenses varying from a few hundred to several thousand dollars, optimizing render settings can result in considerable cost savings. To find quality 3D design visualization services, consider seeking recommendations from industry colleagues, reviewing portfolios, and asking for detailed proposals that outline the services offered and turnaround times. The process of creating a 3D architectural visualization involves modeling, texturing, lighting, and producing, underscoring the importance of providing clear and timely information to optimize project execution and enhance overall business efficiency.
Incorporating Realistic Materials and Textures
Incorporating realistic materials and textures into your Enscape renderings is essential for achieving high-quality visual presentations. This is particularly relevant as 70% of architecture firms plan to invest more in technology within the next 12 months. Here’s a comprehensive approach to mastering this technique:
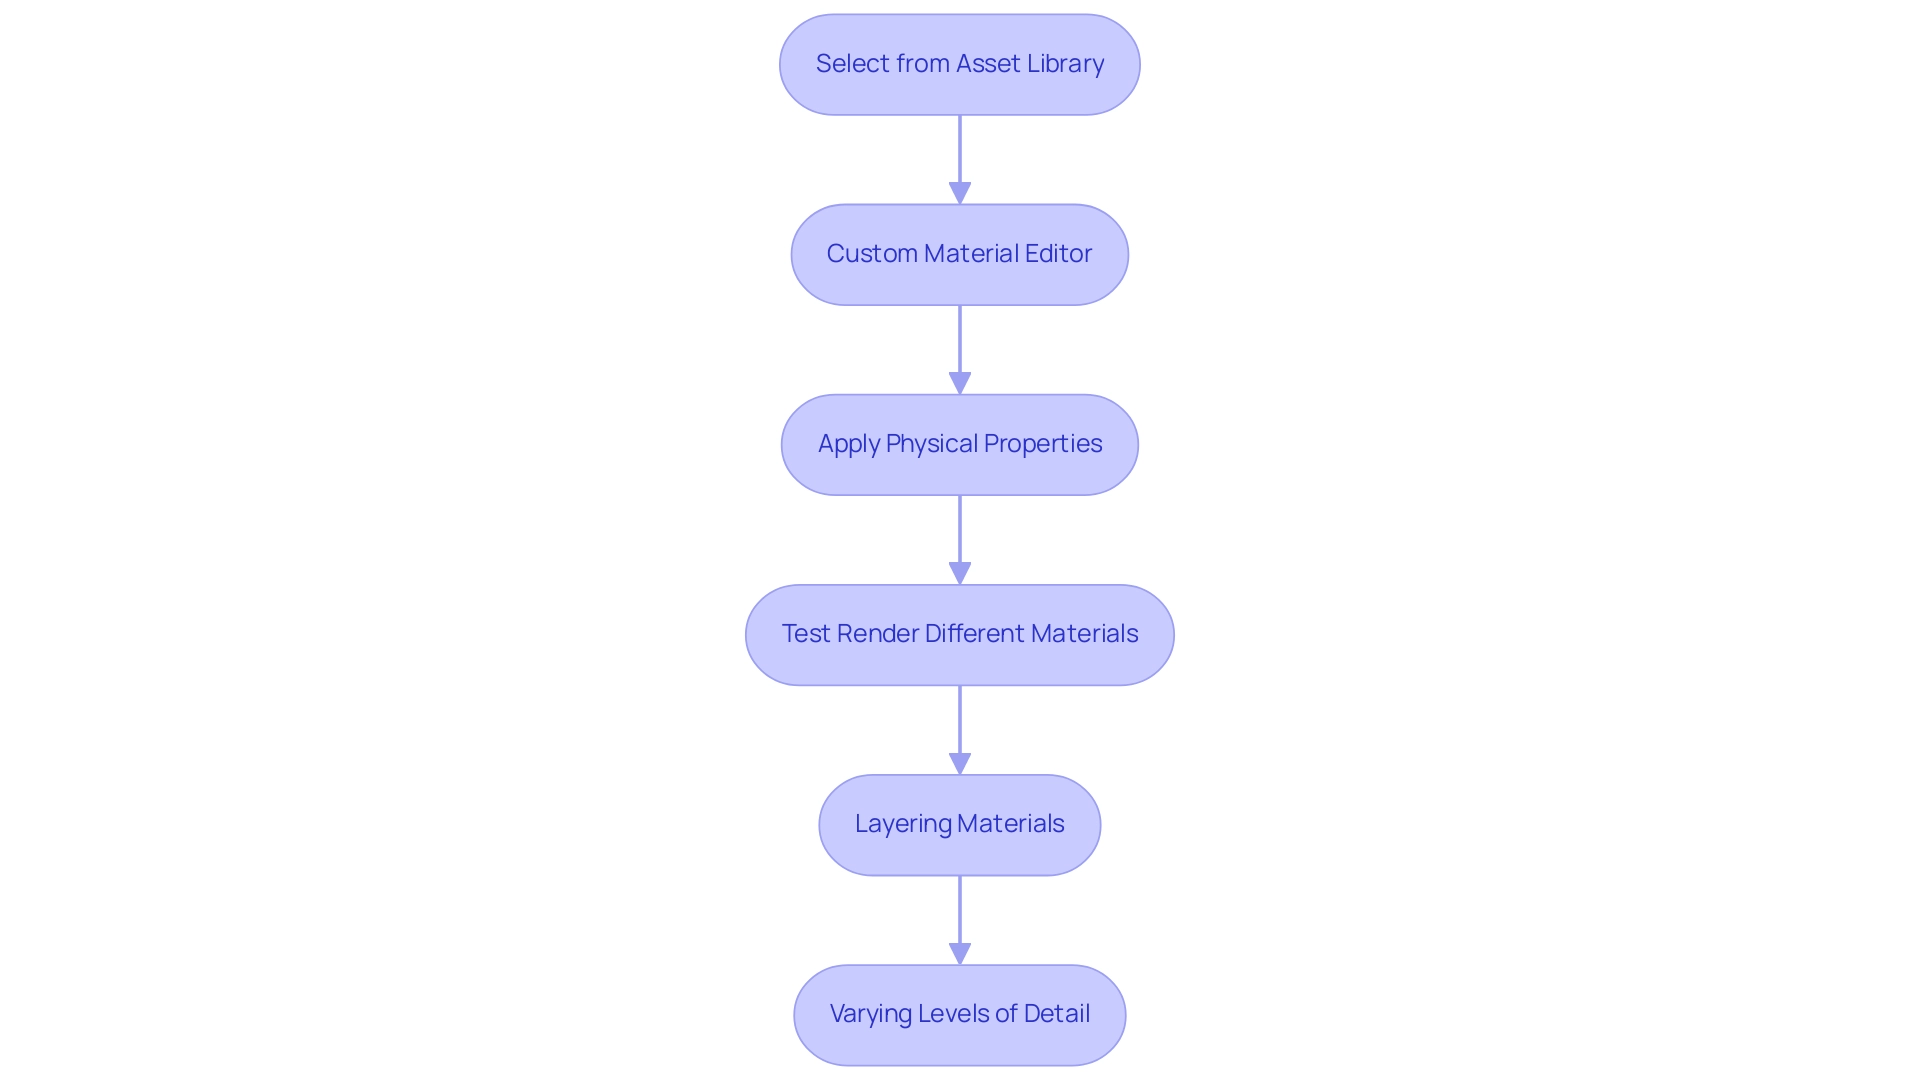
Select from the Enscape architectural rendering Asset Library: Begin by exploring the extensive asset library of Enscape architectural rendering, which offers a diverse selection of materials tailored to various project requirements. Focus on the intricacies of texture details and their interaction with light to select options that enhance the level of detail in your project.
Custom Material Editor: Utilize the material editor to craft custom materials that reflect your architectural vision. Modify essential properties such as color, reflectivity, and roughness to match your aesthetic. Importing high-resolution textures will further ensure superior quality and realism in your renderings.
Apply physical properties: Enhance the realism of your materials by leveraging Enscape architectural rendering’s physical material properties. Set parameters for transparency, bump mapping, and emissive properties to simulate real-world materials effectively.
Test Render Different Materials: Conduct test renders using various materials to observe their behavior under different lighting conditions. This iterative process allows you to make informed decisions, ensuring your final material selections align with the intended atmosphere of the project.
Layering Materials: For sophisticated surfaces, consider employing material layering techniques. Combining textures, such as a glossy finish over a matte base, can yield dynamic and visually intriguing results, enhancing the overall realism of your renderings.
Varying Levels of Detail: Tailor the level of detail in your illustrations based on your audience. For homeowners, focus on inviting, detailed visuals that evoke emotional connections, while for businesses, emphasize technical accuracy and functionality to support decision-making.
With 73,313 architecture businesses in the U.S., mastering these techniques can provide a competitive advantage in a crowded market. As emphasized in the case study titled ‘Architecture Firm Investment and Planning Strategies,’ firms are increasingly adopting new technologies to enhance their presentation methods. By refining these skills, your architectural visuals will not only reflect the intended aesthetic but will also resonate more profoundly with viewers, showcasing the quality and precision of your designs.
Exporting and Sharing Your Renderings
To efficiently export and share your Enscape renderings while ensuring accuracy and enhancing appeal, adhere to the following structured approach:
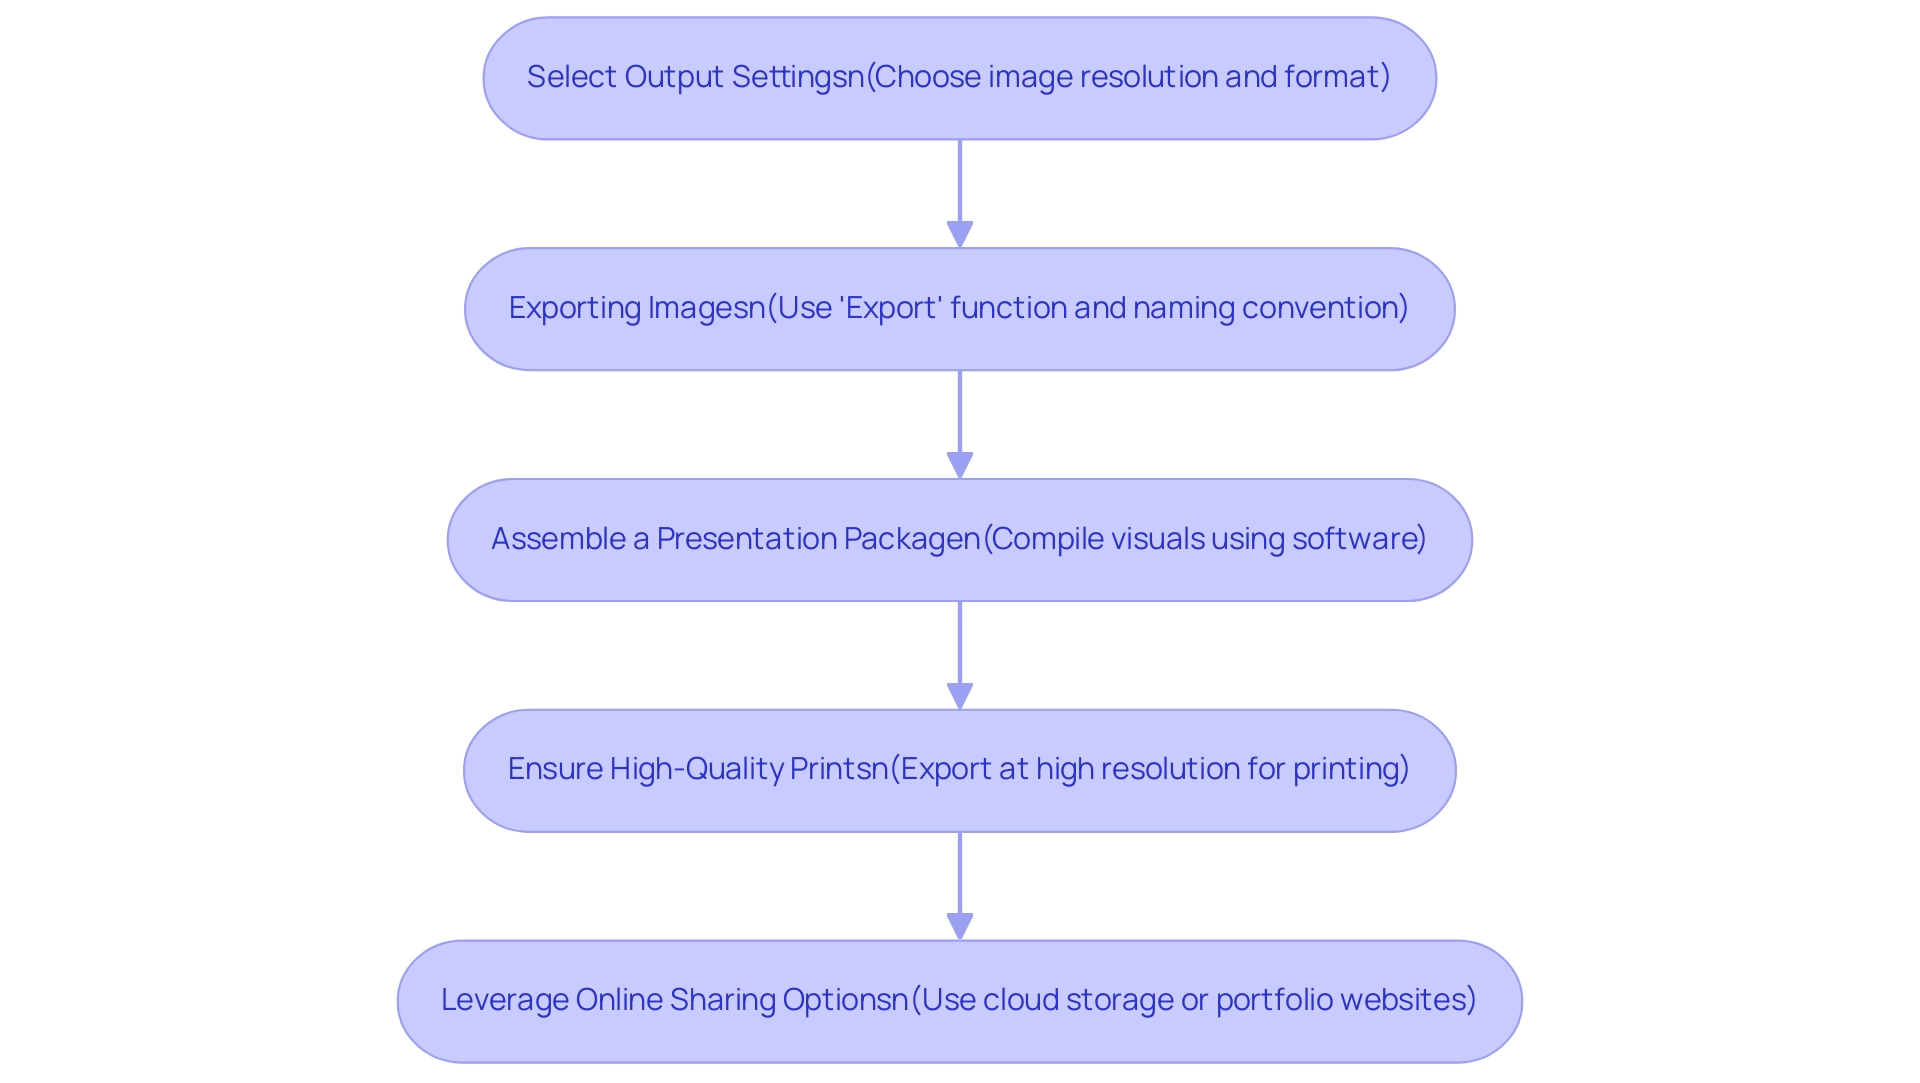
Select Output Settings: Begin by carefully choosing your output settings for Enscape architectural rendering. This includes determining the image resolution, selecting the appropriate file format—options such as PNG, JPEG, PDF, TIFF, JPG, or MP4 for video—and adjusting the render quality to match your project requirements. Meticulous attention to these settings ensures that every detail of your design is accurately represented through Enscape architectural rendering, capturing the textures of materials and the interplay of light and shadow.
Exporting Images: Utilize the ‘Export’ function to save your images to a designated location on your system. Employ a systematic naming convention for your files to facilitate easy identification and retrieval later. This method reflects a commitment to precision that resonates with both clients and stakeholders.Assemble a Presentation Package: For a polished presentation, compile your visuals into a comprehensive package using software like PowerPoint or similar applications. This approach facilitates effective client collaboration and improves your communication effectiveness, ensuring the endeavor is understood and valued in its entirety, and resonating emotionally with the lifestyles and environments they aim to create.
Ensure High-Quality Prints: When preparing for physical presentations, prioritize exporting your images using Enscape architectural rendering at a high resolution suitable for printing. It is advisable to export at a higher resolution than typically required for digital sharing to maintain visual integrity. This strategic investment in quality ensures that your work captivates clients and investors alike.Leverage Online Sharing Options: Consider utilizing cloud storage solutions or professional portfolio websites for sharing your visuals with clients. Ensure that access permissions are configured correctly, allowing clients to view materials without the risk of file alterations. This contemporary method corresponds with the increasing movement of sustainable architecture, where digital distribution improves project visibility.
By mastering the export and sharing process of your visuals, you not only elevate your professional presence but also enhance the clarity and impact of your design communications. As 70% of architecture firms plan to invest more in technology over the next year, staying updated on these best practices is essential for maintaining a competitive edge in the industry. Furthermore, with the introduction of MacOS Sonoma featuring advanced rendering processes, embracing these innovations is key to achieving success in contemporary architectural practices.
Conclusion
The integration of Enscape into architectural visualization represents a significant advancement in how designs are presented and perceived. By understanding the foundational features and setup requirements, professionals can maximize the software’s capabilities, leading to enhanced project presentations. Real-time rendering, an extensive asset library, and advanced lighting options are critical components that facilitate a seamless workflow and foster effective client engagement.
Advanced rendering techniques play a pivotal role in elevating the quality of visual outputs. Custom lighting configurations, material customization, and post-processing effects not only enhance the aesthetic appeal but also ensure that the visualizations resonate deeply with stakeholders. Paying attention to scene composition and asset selection further enriches the narrative of each project, allowing for clearer communication of design intent.
Optimizing render settings is equally essential, as it balances performance and quality effectively. By adjusting render quality, limiting view distances, and disabling unnecessary features, architects can streamline their workflow without compromising visual excellence. The ability to export and share renderings accurately solidifies the connection between architects and clients, enabling precise communication of design visions.
Incorporating realistic materials and textures is paramount for achieving compelling renderings that reflect the intended design narrative. By mastering techniques such as custom material editing and layering, architects can create visuals that not only captivate but also instill confidence in potential investors and clients. Ultimately, the strategic application of these advanced rendering strategies empowers architects to present their work with clarity and precision, fostering stronger relationships and ensuring project success in an increasingly competitive landscape.
0 Comments